
Introduction
If you’re trying to make embroidered patches that look retail-grade (not “craft fair”), you’re probably running into the same problems: jagged edges, thread colors that don’t match your brand, designs that stitch out muddy, and backing that peels after a few washes. The gap between a cute concept and a patch people actually want to wear comes down to repeatable production decisions—digitizing, materials, borders, and QC.
That’s where a custom patches maker approach matters. Instead of guessing your way through settings and supplies, you’re building a consistent system: the right file setup, the right stitch strategy, and the right finishing for your use case. At Best Patches, we’ve helped teams, clubs, businesses, and creators turn “pretty good” artwork into patches that hold up under real-world wear—jackets, uniforms, backpacks, and merch drops.
A custom patches maker is a workflow (or provider) that converts artwork into an embroidered patch through digitizing (stitch planning), stitching (machine embroidery), and finishing (cutting, borders, and backing). In plain terms: it’s the process that transforms a logo into something you can sew on, iron on, or hook-and-loop to gear.
This guide gives you the exact decisions that separate “homemade” from “high-end,” plus the tradeoffs so you don’t overpay—or underbuild—for your mission.
Table of Contents
- What Makes a Patch Look Professional
- Design Prep for Embroidery That Actually Stitches Clean
- Materials and Patch Types That Fit Real Use Cases
- Digitizing Explained: The Decisions That Control Quality
- Production Workflow: From Test Sew to Final Run
- Finishing: Borders, Backings, and Adhesives
- Quality Control and Failure Modes to Watch
- Costs, MOQs, and Timelines in 2026
- Case Study: How Best Patches Ships Consistent Results
What Makes a Patch Look Professional
Professional patches are engineered for legibility at small sizes, durability under friction, and repeatability across batches. The “secret” is not the machine—it’s the decisions made before the first stitch.
Three quality signals customers notice instantly
- Clean borders: even thickness, no waviness, and no fabric showing through at the edge.
- Readable details: text and small shapes stay crisp (not filled in by thread pull or density).
- Color discipline: thread colors don’t drift from brand colors, and contrast is intentional.
What actually causes “cheap-looking” patches
- Artwork with micro-details that embroidery can’t resolve at the chosen size
- Wrong stitch density (too high causes stiffness and puckering; too low causes gaps)
- Underlay that doesn’t support the top stitching
- Improper stabilization and hooping
- Rushed finishing (especially cutting and border work)
“Most patch problems are not ‘machine problems’—they’re planning problems. Once the stitch path is right, consistency becomes predictable.” — Senior Production Lead, Best Patches
Design Prep for Embroidery That Actually Stitches Clean
Embroidery is a physical medium. Thread has width, fabric has stretch, and needles push material around. If your design isn’t adjusted for that reality, the patch won’t match what you see on screen.
Use these design rules before you digitize
- Minimum text height: keep text at least 0.20–0.25 inches tall for clean readability on standard patches.
- Line thickness: avoid lines thinner than 1.2–1.5 mm unless you’re using a specialty setup.
- Limit tiny negative space: small “holes” (like inside letters) can fill in during stitching.
- Reduce gradients: embroidery can fake shading, but it’s a stylistic choice, not true gradient printing.
- Pick 4–8 thread colors: more colors increases setup time and risk of mismatch across batches.
File formats and what they’re actually used for
Most people confuse art files with stitch files. Your PNG or SVG is not the same thing as an embroidery program file.
- For artwork handoff: AI, SVG, or high-res PNG (300 dpi+ at final size).
- For embroidery machines: DST, EMB, PES, EXP (varies by machine and workflow).
- For approvals: a stitch simulation preview plus a photo of a test sew is ideal.
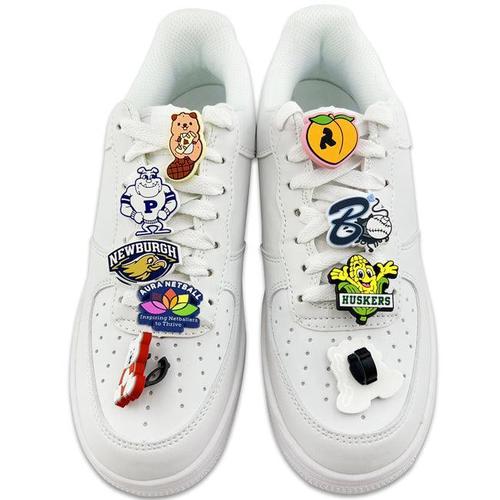
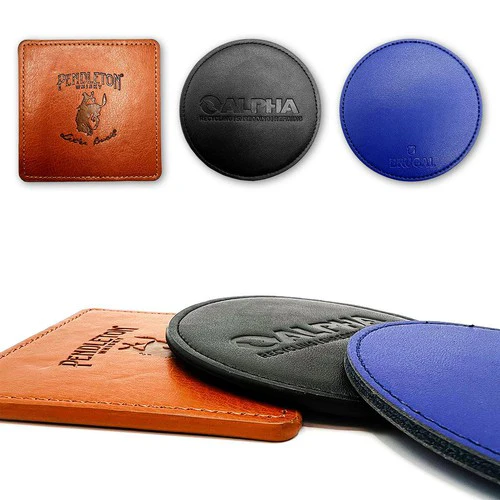
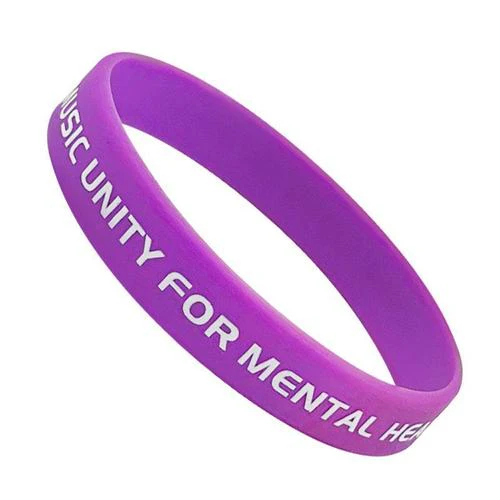
Materials and Patch Types That Fit Real Use Cases
Your patch’s performance depends on the base fabric, thread, and backing—not just the look. In 2026, the most common patch builds still fall into a few categories, each with a clear best-fit scenario.
Common embroidered patch builds
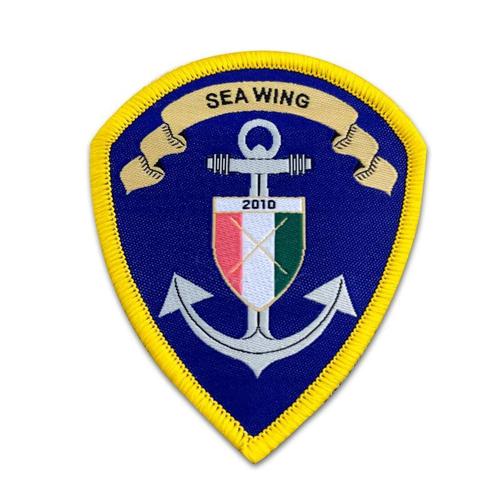
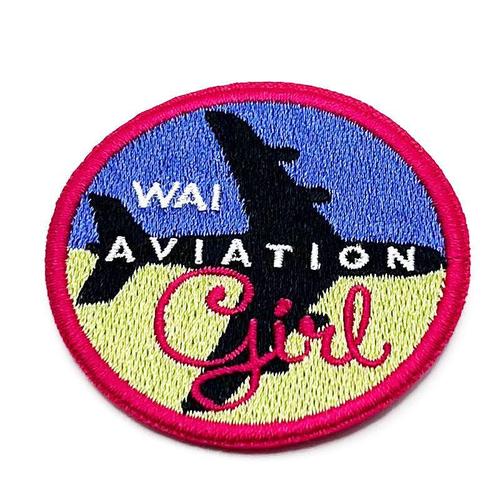
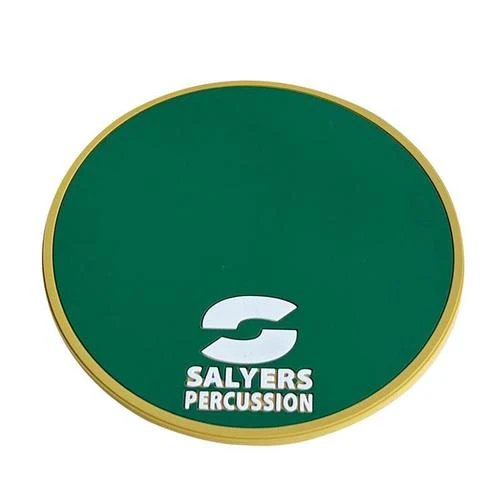
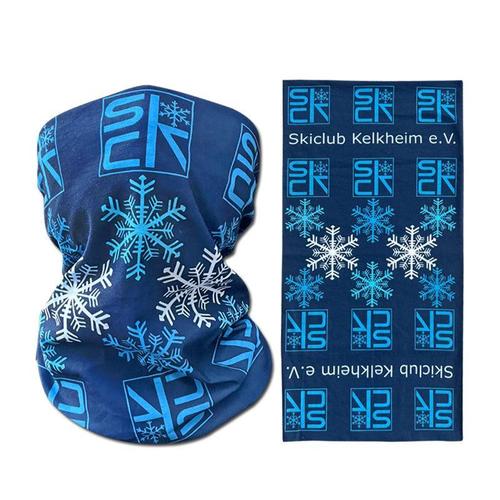
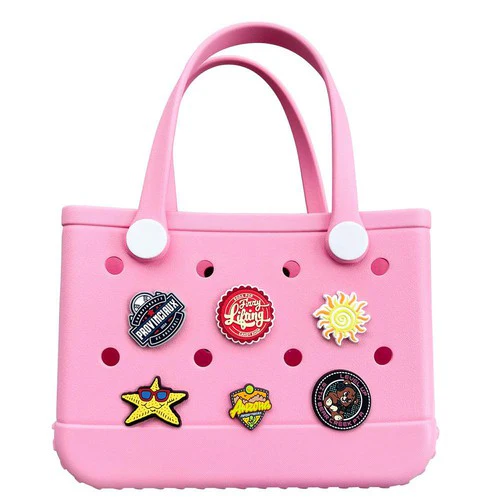
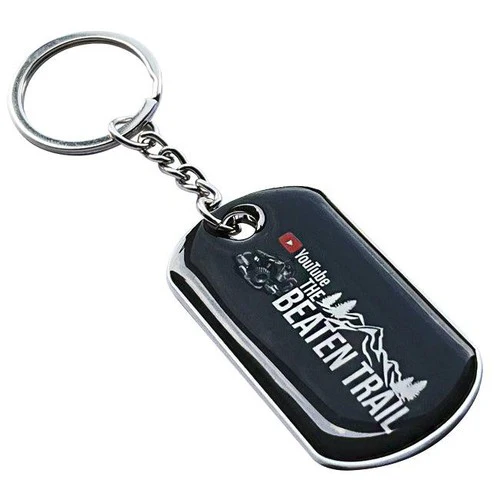
- Twill base + embroidery thread: the standard for logos, uniforms, clubs, and merch.
- Felt base + embroidery: vintage look; great for varsity-style designs.
- Chenille: fuzzy, bold, high-impact; best for large letters and retro aesthetics.
- Woven patches: technically not embroidery; best for micro-detail and small text.
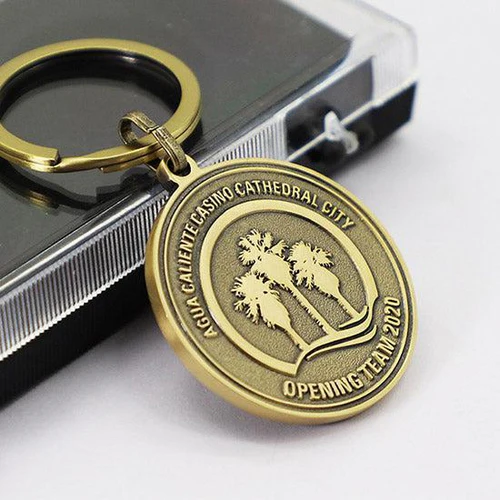
Choose your border based on abuse level
- Merrowed border: thick and classic; best for simple shapes (circles, shields).
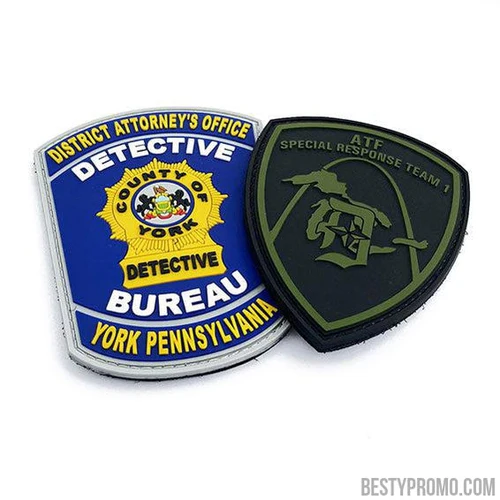
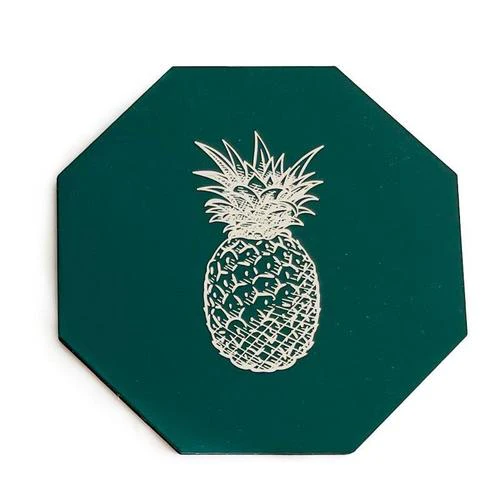
- Hot cut border: precise for custom shapes; best for modern die-cut logos.
- Laser cut border: clean and consistent; helpful for intricate outlines (with the right base fabric).
Digitizing Explained: The Decisions That Control Quality
Digitizing is where quality is won or lost. It’s not “auto-tracing”; it’s a stitch blueprint that controls pull compensation, underlay, stitch direction, density, and sequencing.
The digitizing settings that matter most
- Underlay: foundation stitches that stabilize fabric and prevent gaps.
- Density: determines coverage and stiffness; too dense can pucker and distort.
- Stitch angle: controls sheen and readability; misaligned angles make shapes look warped.
- Pull compensation: offsets the natural pull of thread to keep edges crisp.
- Sequence planning: reduces trims, avoids thread build-up, and keeps layers clean.
Why “more stitches” is not better
Over-digitized patches feel like cardboard, curl at the edges, and can crack adhesives. Under-digitized patches show fabric and look thin. A skilled custom patches maker targets a balanced density that matches the base fabric and the patch’s intended wear.
“If you want your patch to look sharp and still bend naturally on a hat or sleeve, density discipline is everything.” — Digitizing Specialist, Best Patches
Industry data worth knowing
According to a 2024 report by Gartner on customer experience, consistency is a major driver of brand trust; translated to physical brand assets, that means customers notice when a second batch looks different from the first. And according to Adobe’s 2023 research on brand consistency, consistent presentation is strongly linked to perceived reliability—exactly why repeatable digitizing and QC matter for patches used in uniforms and merch programs.
Production Workflow: From Test Sew to Final Run
Whether you’re making patches in-house or outsourcing, the workflow is the same: validate the stitch file, stabilize correctly, produce consistently, then finish cleanly.
Step-by-step production checklist
- Confirm final size and placement (hat front, sleeve, backpack panel, chest, etc.).
- Approve thread color map (brand colors, contrast, and substitutions if needed).
- Run a test sew on the actual base fabric and backing combo.
- Check legibility and edge integrity (especially small text and thin outlines).
- Adjust digitizing (density, pull comp, underlay, sequencing) based on test results.
- Lock settings and begin production run with documented machine parameters.
- Inspect every batch before finishing (catch issues early, save rework time).
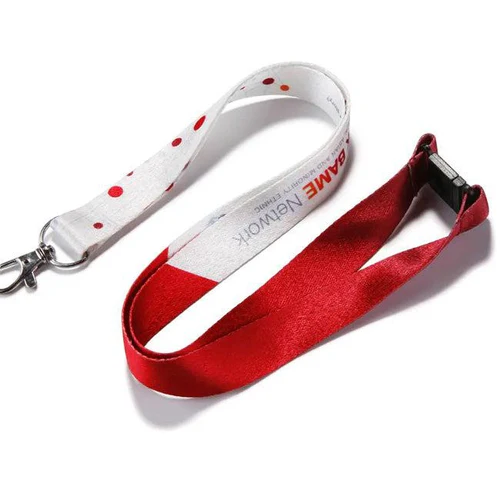
Finishing: Borders, Backings, and Adhesives
Finishing is where patches become wearable. This includes cutting, border style, and backing selection. Backing is not just convenience—it’s a durability decision.
Backing options and when to use each
- Sew-on: maximum durability; best for uniforms, workwear, and frequent washing.
- Iron-on (heat seal): fast application; best for merch and casual wear, but still benefits from perimeter stitching.
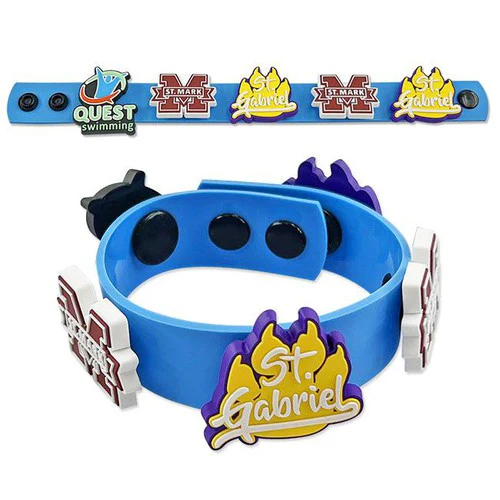
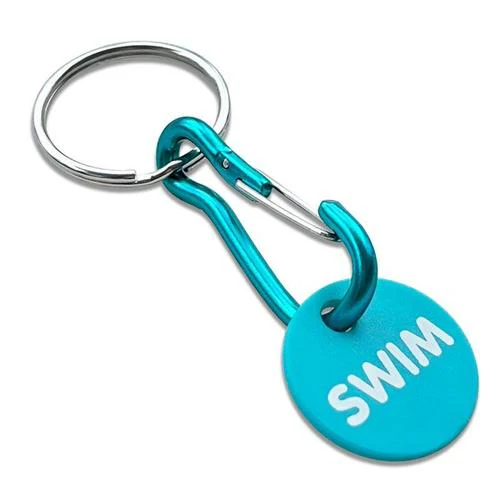
- Hook-and-loop: removable; best for tactical gear, range bags, and changing identifiers.
- Peel-and-stick: temporary; best for events and short-term promos, not heavy use.
Adhesive and heat realities
Iron-on backing is convenient, but it’s sensitive to fabric type, temperature accuracy, dwell time, and pressure. Too little heat leads to early peeling; too much can scorch fabric or warp the patch. For anything that will be washed regularly, treat iron-on as “positioning help” and add a stitch around the edge.
Quality Control and Failure Modes to Watch
Good QC is about catching small deviations before they become 500 defective patches. The most common failures are predictable.
Top patch failures and what causes them
- Edge fraying: weak cut method, insufficient border coverage, or poor base fabric choice.
- Puckering: density too high, bad stabilization, hoop tension issues.
- Detail loss: design too small, satin columns too narrow, poor sequencing.
- Color mismatch: uncontrolled thread substitutions or inconsistent color mapping.
- Backing peel: wrong adhesive for fabric, improper heat settings, or oily/treated garments.
A simple QC rubric you can use
- Visual: compare against a master approval sample under the same lighting.
- Measure: size tolerance (common target is within a couple millimeters, depending on shape).
- Stress check: flex test the patch; check edge integrity and thread lift.
- Application test: for iron-on, do a wash test or at least a peel test after cooling.
Costs, MOQs, and Timelines in 2026
Price is driven by stitch count, size, number of colors, border type, backing type, and order volume. “Cheap” usually means corners were cut on digitizing time, QC time, or finishing.
Typical cost drivers
- Stitch count: complex fills and dense coverage take longer to stitch.
- Custom shapes: hot cut/laser cut adds finishing complexity.
- Backing: hook-and-loop typically costs more than sew-on.
- Turn time: rush production can raise cost and increase risk of inconsistency.
Comparison table for common business scenarios
| Use Case | Recommended Patch Type | Best Backing | Why It Works |
|---|---|---|---|
| Restaurant staff uniforms | Twill embroidered, merrowed border | Sew-on | Handles frequent washing and heat; consistent professional look. |
| Streetwear merch drop | Embroidered with hot cut border | Iron-on plus edge stitch | Fast application at scale; sharp outline for modern branding. |
| Youth sports team bags | Embroidered, bold shapes | Iron-on | Quick for volunteers/parents; adequate durability for bags. |
| Tech conference giveaways | Woven patch for fine text | Peel-and-stick | Great detail for small logos; temporary use is expected. |
| Security/tactical identifiers | Embroidered, high-contrast | Hook-and-loop | Swappable roles/names; strong hold on packs and plate carriers. |
Case Study: How Best Patches Ships Consistent Results
I’ve seen the same pattern over and over: a customer brings a detailed logo that looks perfect on screen, but once stitched at 2.5 inches wide, the thin outlines and small interior gaps collapse. The first time we handled a run like this at Best Patches, we didn’t “fix” it by adding stitches—we fixed it by making the art patch-smart.
We built two stitch plans: a standard version for 3.5-inch jacket placement and a small-format version for hats. The hat version used fewer micro elements, increased contrast, and adjusted satin widths to survive pull. The outcome wasn’t just prettier; it was consistent across the full batch because the digitizing was designed for the real size and fabric.
Another example: I worked with an operations manager ordering patches for staff uniforms across multiple locations. Their pain point wasn’t design—it was batch drift. One shipment looked brighter, another looked darker, and it created internal complaints because the “same patch” didn’t match across stores. We solved it by locking a thread color map, documenting the stitch file version, and implementing a master sample check for every production batch before finishing. That’s the quiet part of being a reliable custom patches maker: controlling variance, not just producing something once.
Conclusion
Custom embroidered patches look premium when you treat them like a production system: stitch-friendly design, disciplined digitizing, correct materials, and finishing that matches real-world wear. The fastest way to waste money is to skip the test sew and hope details survive at small sizes.
Next steps recommended by Best Patches:
- Pick the final size and placement first (hat vs jacket vs bag), then tailor the artwork to that reality.
- Request a test sew photo and approve a master sample before any full run.
- Choose backing based on wash and removal needs, not convenience alone—uniforms and heavy-use gear should favor sew-on or hook-and-loop.
References
- Gartner (2024): Customer experience research highlighting the business value of consistency and trust across repeat interactions, relevant to maintaining consistent physical brand assets across batches.
- Adobe (2023): Brand consistency research connecting consistent presentation with improved brand perception, supporting controlled thread mapping and standardized approvals.
- ISO (2023-2025 updates referenced conceptually): Quality management principles commonly applied to manufacturing workflows, relevant to implementing batch QC, master samples, and documented process control.
FAQ
What size should I choose for an embroidered patch?
-
Start with placement, then work backward. Hats usually need simpler art at 2–3 inches wide. Jackets and hoodies commonly look balanced at 3–4 inches. Backpacks can go larger, especially if you want readability from a distance. If your design has small text, size up or request a simplified “small-format” version.
What’s the difference between merrowed and hot cut borders?
-
Merrowed borders are thicker and classic-looking, but they work best on simple shapes like circles, ovals, and shields. Hot cut borders are trimmed to the exact outline, so they’re better for custom shapes and modern logos. If your patch has sharp corners or intricate edges, hot cut typically looks cleaner.
Is iron-on backing durable enough for uniforms?
-
It can work, but it’s not the most reliable option for frequent washing and heat exposure. For uniforms, the safest approach is:
-
Use sew-on for maximum longevity
-
Or use iron-on to position the patch and add a perimeter stitch for long-term hold
-
Test on the actual uniform fabric before rolling out to staff
How do I choose thread colors that match my brand?
-
Provide a Pantone (or brand color values) and ask your maker to map those to their thread library. For best consistency across reorders:
-
Approve a thread color chart or photo under neutral lighting
-
Lock the thread brand + code used for production
-
Avoid relying on screen-only color matching
What should I send to a custom patches maker to get accurate results?
-
Send the assets and specs that remove ambiguity. A solid starter pack includes:
-
Vector art (AI/SVG) or a high-res PNG (300 dpi+)
-
Final size (width/height) and shape (circle, shield, custom die-cut)
-
Backing choice (sew-on, iron-on, hook-and-loop) and where it will be applied
-
Brand colors (Pantone if possible) and any “must-not-change” elements
Why do small letters look messy on embroidered patches?
-
Because thread has width and embroidery creates pull on fabric. At small sizes, satin columns can become too narrow, counters (like inside “A” or “R”) fill in, and density can overpower the shape. The fix is usually one (or more) of these: increase patch size, simplify the lettering, switch to a woven patch for micro text, or create a small-format stitch plan tuned for hats and tight spaces.
How fast can Best Patches deliver custom embroidered patches?
-
Timelines depend on quantity, complexity, and whether digitizing needs revisions after a test sew. For most standard runs, plan for proofing + test sew first, then production. If you’re on a deadline (events, product launches), ask for a prioritized schedule and confirm that QC and finishing time are still included—rushing without QC is where patch consistency usually breaks.
Can I make custom embroidered patches at home without an industrial machine?
-
Yes—especially for small batches—but expect a learning curve. You’ll need a capable embroidery machine, proper stabilizers, sharp needles, and a reliable digitizing file. Home setups can produce great results for simpler designs, while high-detail logos, consistent large runs, and tight QC are typically where a professional custom patches maker (like Best Patches) saves time and reduces waste.