
Introduction
If you’ve ever ordered patches that arrived blurry, frayed, the wrong size, or “almost” the right color, you already know the hard truth: patches are small, but the mistakes show up big. Whether you’re building a brand drop, outfitting a team, or creating merch for an event, the difference between “cheap promo” and “keepsake quality” is usually decided before production even starts.
That’s where a custom patches maker workflow matters. At Best Patches, we’ve seen the same pattern over and over: clients don’t fail because they lack creativity—they fail because the specs weren’t production-ready, the material didn’t match the use case, or the vendor wasn’t honest about limitations.
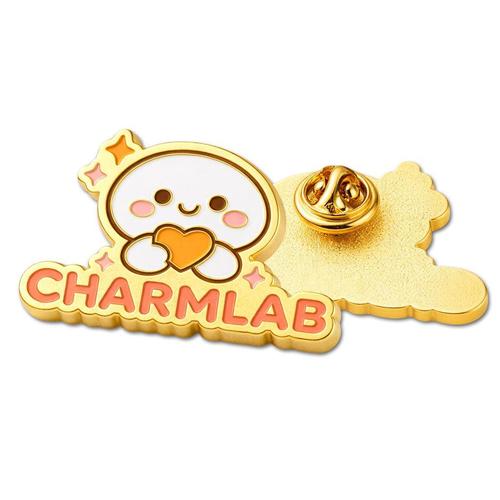
Definition: A custom patches maker is the combination of tools, production methods, and quality controls used to turn an idea (logo, art, message) into a wearable patch—embroidered, woven, PVC, chenille, leather, or printed—complete with the right backing for how it will be attached.
In practice, “custom patches maker” also describes the vendor partner who guides you through digitizing, sampling, thread or ink selection, backing choice, and inspection standards so your patch ships ready to wear, sell, or sew.
Table of Contents
- Start With the Patch’s Job, Not the Design
- Choose the Right Patch Type for Your Artwork
- Materials That Hold Up in Real Life
- Artwork Prep: What a Factory Actually Needs
- Backings and Attachments That Don’t Fail
- Step-by-Step: How to Make Custom Patches
- Quality Control: The Checklist Pros Use
- Cost, MOQ, and Timeline Planning
- Case Studies: Best Patches in the Field
- 2026 Trends and What Google’s E-E-A-T Rewards
Start With the Patch’s Job, Not the Design
The fastest way to waste money on patches is to treat them like stickers. A patch has a job: survive wear, communicate identity, and attach reliably to a surface that moves, stretches, gets washed, or gets wet. Decide the patch’s job first, then pick materials and method.
Questions that determine the “right” patch
- Where will it live? Hat front panel, backpack strap, uniform sleeve, denim jacket back, tactical vest, motorcycle club cut, or kids’ apparel.
- How rough is the environment? Heat, sweat, saltwater, industrial wash, abrasion, mud, sunscreen, or friction from straps.
- How long must it last? Weekend event vs. years of use.
- How will it attach? Sew-on, iron-on, Velcro, adhesive, pin, or snap.
- What’s the failure you can’t accept? Edges lifting, threads snagging, ink cracking, hook-and-loop peeling, or color mismatch.
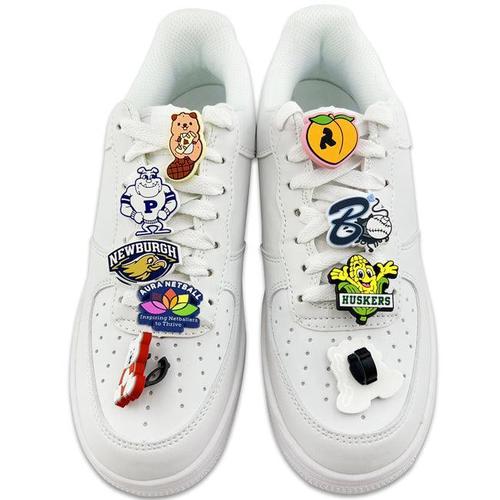
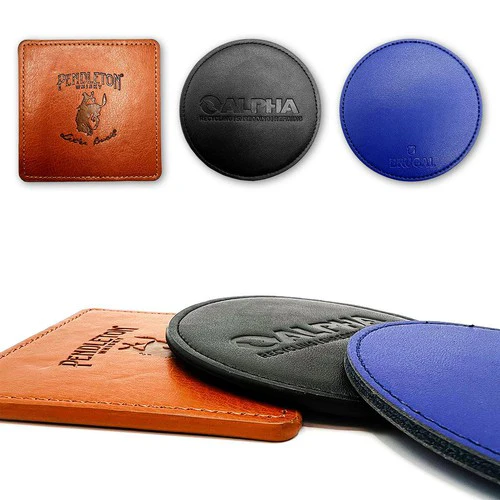
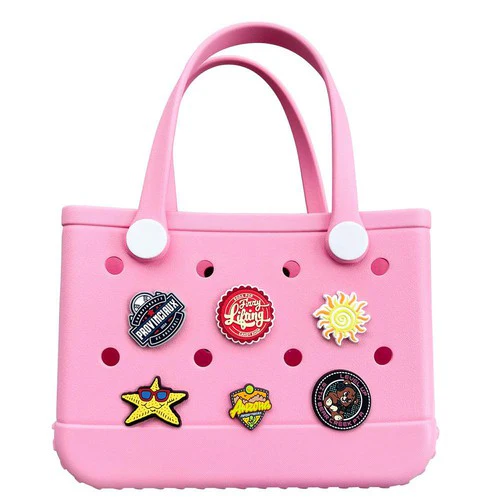
Choose the Right Patch Type for Your Artwork
Every patch style has a “sweet spot.” The job is matching your artwork’s level of detail, the desired texture, and the end-use. Below is a practical breakdown used by experienced teams and makers.
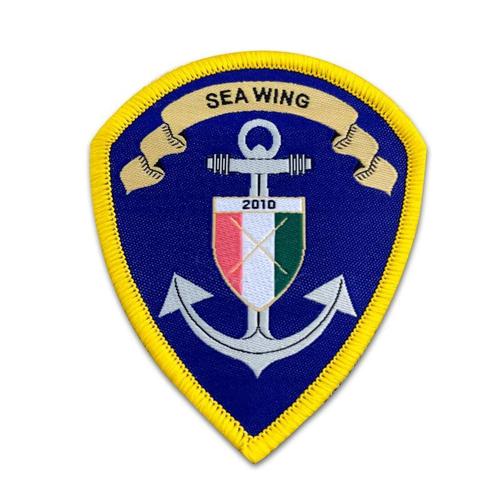
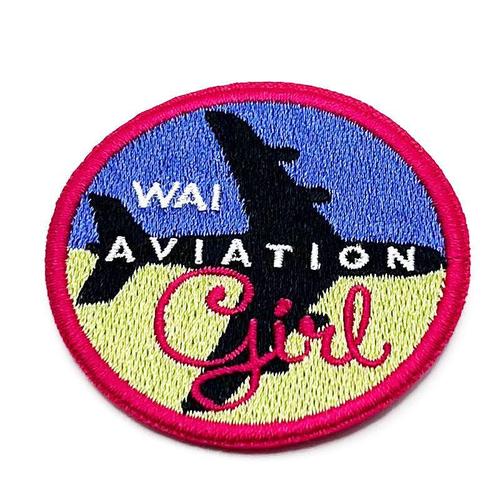
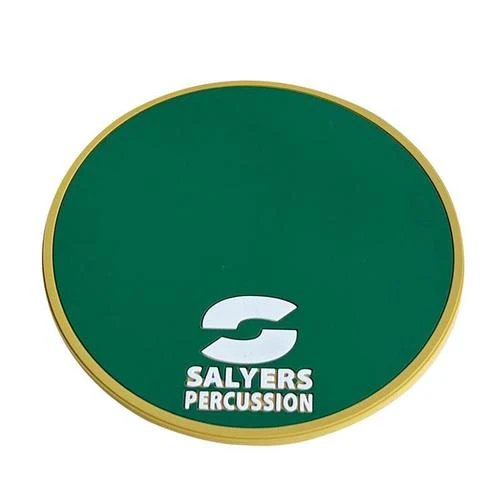
Embroidered patches
Best for bold shapes, simple logos, and high tactile texture. Embroidery has a clean, classic look, but micro text and thin lines can fill in. If your design relies on tiny typography, embroidery may disappoint unless you increase size or simplify.
Woven patches
Best for fine detail and small text. Woven patches use thinner threads and tighter construction, producing sharper edges and cleaner lettering than embroidery—at the cost of less “raised” texture.
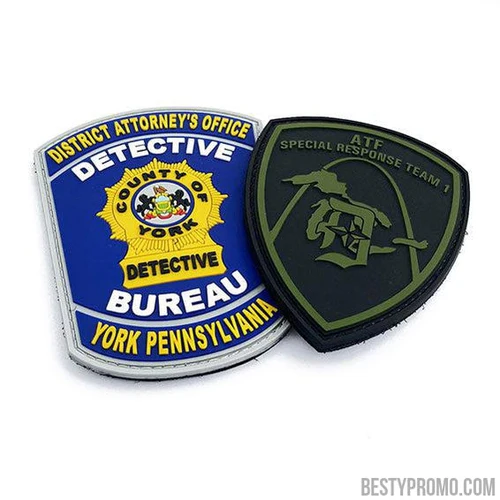
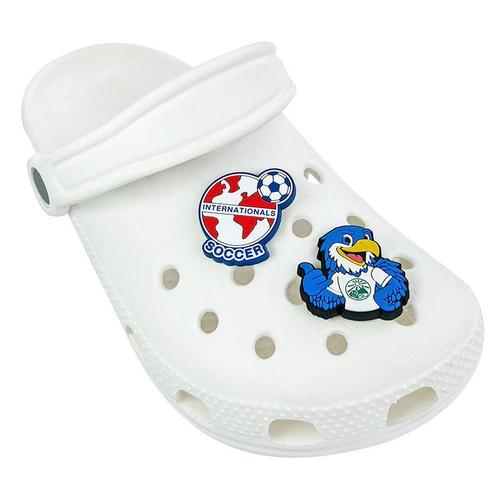
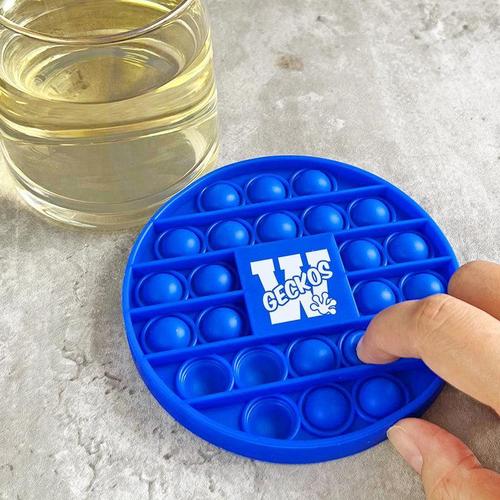
PVC (rubber) patches
Best for outdoor, tactical, and waterproof applications. PVC handles mud, rain, sweat, and frequent cleaning. It also supports layered 3D effects. The tradeoff: gradients and ultra-fine detail can look flatter or more “graphic” than textile-based patches.
Printed patches (sublimated or screen printed)
Best for photo-like art, gradients, and complex color transitions. Great when your design would be expensive or impossible in thread. The risk is longevity: some printed methods can crack or fade faster than woven/embroidered, especially on flexing garments.
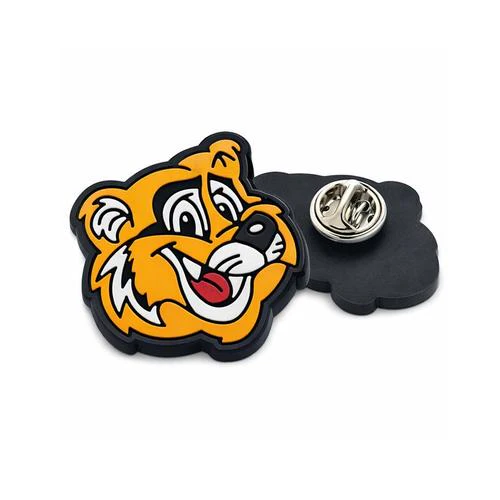
Chenille and felt-letter patches
Best for varsity, retro, and big-letter designs. Chenille reads from a distance and feels premium when executed well. It is not for micro-detail.
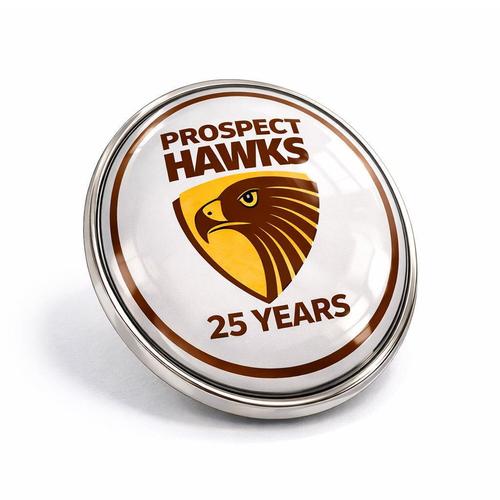
Leather and faux leather patches
Best for hats and premium branding. Laser-engraved leather patches can look high-end and photograph well for e-commerce. Make sure your design is contrast-friendly (engraved art needs strong shapes).

Materials That Hold Up in Real Life
Material choices don’t just affect feel—they decide whether the patch looks good after 10 washes or 10 minutes in the sun.
Thread, fabric, and base considerations
- Polyester thread is common for durability and colorfastness; it typically handles washing and sun better than many alternatives.
- Twill base is a standard for embroidered patches and holds shape well.
- Merrowed edges (thick stitched border) resist fraying but require simpler shapes; complex outlines may need cut edges.
- Heat tolerance matters if you plan to iron-on or apply heat presses—some materials can warp or gloss under high heat.
When waterproofing matters
If your patch will see rain, sweat, snow, or marine conditions, PVC or properly finished woven patches tend to perform more predictably than some printed options. Also remember: “water-resistant patch” doesn’t automatically mean “water-resistant attachment.” Your backing choice is equally important.
“Most patch complaints we troubleshoot aren’t about the art. They’re about edge finish and backing choice—two details people rush.” — Production lead, Best Patches
Artwork Prep: What a Factory Actually Needs
Great patches start with production-friendly art. You don’t need to be a designer—but you do need to speak the factory’s language.
File formats and resolution that prevent delays
- Best: AI, EPS, or SVG (vector). Vectors scale cleanly and are easiest to digitize.
- Acceptable: PDF (vector-based) or high-resolution PNG (transparent background).
- Avoid: Low-res JPG screenshots, social media exports, or blurry images with compression artifacts.
Design rules that save your details
- Minimum text size: If you want readable small text, woven or printed usually wins; embroidery may require larger letters.
- Line thickness: Thin lines can break, fill, or wobble in embroidery. Thicken strokes or switch to woven.
- Color count: More thread colors can raise cost and increase mismatch risk across batches.
- Gradients: If you need gradients, plan for printing or simulate gradients with thread steps (which changes the look).
Backings and Attachments That Don’t Fail
Backings determine whether your patch stays put and whether customers feel confident applying it. Here are the real-world tradeoffs.
Sew-on backing
Most durable and most universal. Ideal for uniforms, denim, backpacks, and long-term wear. Downsides: requires sewing skill or tailoring time.
Iron-on (heat seal) backing
Fast, popular, and great for many cotton garments. Risks: poor adhesion on nylon, polyester shells, waterproof coatings, heavily textured knits, or garments exposed to frequent high heat in commercial dryers.
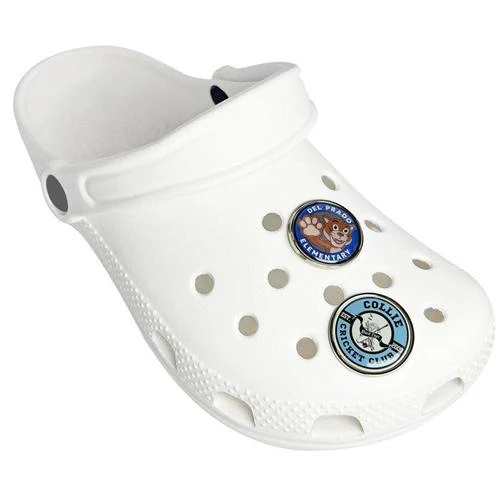
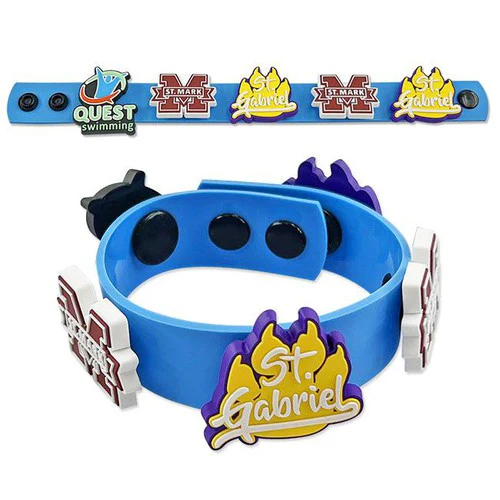
Hook-and-loop (Velcro) backing
Perfect for tactical, military, airsoft, and work gear. The key is using a strong stitch or adhesive to keep the hook-and-loop from peeling away from the patch under repeated rip cycles.
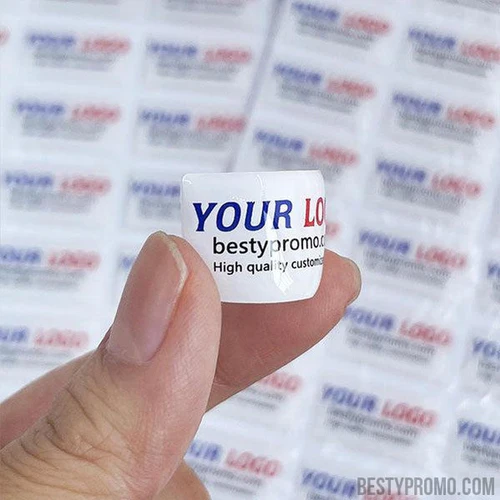
Adhesive backing (peel-and-stick)
Good for temporary placement, packaging inserts, or short-term events. Not recommended for long-term wear, washing, or high heat. If you need “sticker convenience,” consider adding a peel-and-stick layer on top of a sew-on solution, not instead of it.
Step-by-Step: How to Make Custom Patches
This is the workflow we use to keep outcomes predictable—whether you’re ordering 25 patches or 25,000.
- Define the use case and constraints. Where it’s worn, how it attaches, how long it must last, and what “failure” looks like.
- Pick the patch type. Embroidered for bold texture, woven for detail, PVC for waterproof toughness, printed for gradients/photos.
- Finalize size and shape. Small patches force compromises; upsizing even 0.5 inches can rescue readability.
- Prepare production-ready artwork. Vector preferred; specify Pantone-like color targets when color accuracy matters.
- Choose border and edge finish. Merrowed for simple shapes; laser-cut or heat-cut for complex outlines.
- Select backing. Sew-on, iron-on, hook-and-loop, or a combo depending on garment and environment.
- Approve a pre-production proof. Confirm thread/ink colors, placement, border thickness, and small-text readability.
- Run a sample (recommended for new designs). A sample catches the expensive problems: wrong density, unclear text, bad edge cut.
- Mass production with QC checkpoints. Spot-check color, alignment, backing adhesion, and edge consistency.
- Pack and ship for end-use. Retail packaging, sets, or individual bagging; include application instructions if iron-on.
“A patch proof isn’t a formality; it’s a contract. If the proof is vague, the production will be vague too.” — Senior account specialist, Best Patches
Quality Control: The Checklist Pros Use
Quality control is where premium brands quietly win. It’s also where budget projects often collapse—because nobody defined what “acceptable” means.
QC checks that actually catch defects
- Edge integrity: No fraying, clean cuts, consistent merrow border thickness.
- Stitch density consistency: Avoid bald spots (too light) and stiff cardboard feel (too dense).
- Color match under neutral light: Check under daylight-balanced lighting, not yellow warehouse bulbs.
- Backing bond strength: For iron-on or Velcro, test peel resistance and heat performance.
- Dimensional accuracy: Ensure size tolerance stays consistent, especially if patches must fit uniforms or Velcro panels.
Risks and limitations to plan for
No patch type is perfect. Embroidery can simplify fine detail. Printing can fade or crack depending on method and care. Velcro can wear down over time and collect lint. Iron-on can fail on technical fabrics. The goal isn’t perfection—it’s choosing tradeoffs you can live with and specifying them clearly.
According to a 2024 report by Gartner on customer experience, customers increasingly judge brands by consistency and post-purchase outcomes, not marketing claims. For patches, “consistency” translates to repeatable color, repeatable stitching, and predictable backing performance across batches.
Cost, MOQ, and Timeline Planning
Patch pricing is less mysterious when you break it into cost drivers. If you want better quotes, give better inputs.
What drives the cost up (and how to control it)
- Size: Bigger patches use more materials and production time.
- Stitch count / density: Complex embroidery costs more than simple fills.
- Color count: More colors can mean more setup and higher mismatch risk.
- Special finishes: Metallic thread, glow, 3D puff, or specialty PVC molding adds cost.
- Backing type: Hook-and-loop and premium heat seals can cost more than plain sew-on.
- Packaging: Retail carding, barcodes, or individual polybags add per-unit cost.
Typical timelines (realistic planning)
For many custom patch orders, a realistic planning window includes time for proofing, revisions, and shipping. If you have a hard deadline (trade show, tournament, launch), build in buffer for a sample and one revision cycle.
Comparison table for common business scenarios
| Business Scenario | Recommended Patch Type | Best Backing | Reason It Wins |
|---|---|---|---|
| Streetwear brand hat drop | Leather (laser engraved) or woven | Sew-on | Premium look in product photos; clean edges; fewer returns |
| Fire/EMS station uniform patch | Embroidered | Sew-on | Durable through washing; traditional appearance; easy replacement |
| Outdoor brand backpack patch | PVC | Sew-on | Handles weather and abrasion; wipes clean; holds shape |
| Anime convention merch (high-detail art) | Printed (sublimated) or woven | Iron-on (with care card) or sew-on | Preserves gradients and linework; easier to match character palettes |
| Security team gear with role swaps | Embroidered or PVC | Hook-and-loop | Fast changes between roles; standardized placement; field-friendly |
Case Studies: Best Patches in the Field
Case study: fixing unreadable micro text for a trade crew
I worked with a construction trade crew that wanted a small chest patch with the company name, a phone number, and a detailed mascot. Their first sample from another supplier looked “muddy”—the phone number filled in and the mascot lost definition.
At Best Patches, we treated it like a production problem, not an art problem. We switched from embroidery to woven, increased the patch width slightly, and reduced the phone number weight while adding spacing. The result: the number became readable at arm’s length, and the mascot kept its outline. The crew stopped reordering replacements because the edges held up and the design finally did what it was supposed to do: identify the brand fast.
Case study: reducing returns on an e-commerce merch launch
Another time, I supported a small streetwear brand preparing a limited drop. Their biggest fear was returns due to “not like the photos,” especially for color. We built a simple control system: one reference lighting setup for approvals, locked thread colors for the core palette, and a sample review that focused on border thickness and stitch density (two things that change how colors appear).
We also added a small application card for iron-on buyers that spelled out fabric limitations and recommended a quick perimeter stitch for heavy wear. That single insert reduced preventable failures. The launch sold through, and the brand had fewer customer service tickets about lifting corners and “wrong shade.”
According to a 2025 analysis published by McKinsey on growth and customer retention, reducing friction in the post-purchase experience (returns, complaints, and support contacts) can materially improve profitability. For patches, that friction is often preventable with better specs and clearer application guidance.
2026 Trends and What Google’s E-E-A-T Rewards
In 2026, patches are trending in two directions at once: higher craftsmanship (premium textures, mixed materials, raised effects) and faster micro-batch production (short runs for creators, clubs, and pop-up events). The brands that win combine both: they ship quickly without shipping sloppy.
What’s changing in patch buying
- More mixed-material builds: chenille + embroidery, PVC + fabric borders, leather + woven labels.
- Better attachment systems: combo backings (iron-on plus optional sew) and stronger hook-and-loop standards.
- Higher expectations for proofing: buyers want realistic simulations and clearer tolerances.
How E-E-A-T shows up in a “custom patches maker” experience
Google’s quality systems reward content (and brands) that demonstrate real experience and expertise. In the patch world, that maps to practical signals: clear specs, honest limitations, real photos or proofs, and guidance that prevents failure. If you’re a creator selling patches, publishing care instructions and application steps is not fluff—it’s trust.
According to a 2023 report by Deloitte on consumer trust, transparency and reliable fulfillment are key drivers of repeat purchasing. Translating that to patches: be transparent about what each patch type can’t do, and you’ll gain loyalty instead of refunds.
Conclusion
Making custom patches that people actually love comes down to a repeatable method: define the patch’s job, choose the right patch type for the artwork, prep production-ready files, select a backing that matches the real surface, and enforce QC before you scale.
Next steps recommended by Best Patches:
- Audit your design for minimum line weight and text size, then decide whether it belongs in embroidery, woven, PVC, or print.
- Lock your specs (size tolerance, edge finish, backing, color targets) before you request quotes—this prevents surprise cost jumps.
- Order a sample if it’s a new design, new material, or a high-stakes deadline. Sampling costs less than a bad batch.
References
- Gartner (2024) — Customer experience research used here to frame why consistency and post-purchase outcomes matter for product satisfaction.
- McKinsey (2025) — Retention and profitability analysis referenced to support reducing returns and support friction through better specs and guidance.
- Deloitte (2023) — Consumer trust findings referenced to reinforce transparency about limitations and fulfillment reliability.
FAQ
What is a custom patches maker, and what should it include?
-
A custom patches maker is the process and partner that converts your design into a manufacturable patch. It should include artwork review, digitizing/proofing, material and backing guidance, sampling options, and quality control so the final patches match the approved proof.
What file format should I send to make custom patches?
-
Send vector files whenever possible: AI, EPS, or SVG. If you don’t have vectors, a high-resolution PNG with a transparent background can work, but it may require extra cleanup and can slow approvals.
Which is better: embroidered or woven patches?
-
It depends on your design goals:
-
Choose embroidered for bold shapes and a raised, classic texture
-
Choose woven for small text, thin lines, and sharper detail
What backing should I choose so patches don’t fall off?
-
For long-term durability, sew-on is the most reliable. Iron-on is convenient for many cotton garments but can fail on technical fabrics or in high-heat laundry. Hook-and-loop is strong for gear that needs swapping, but it should be stitched down well to prevent peeling over time.
How do I keep patch colors consistent across reorders?
-
Lock your specs: keep the same vendor, confirm the same thread/ink references, and approve proofs under neutral lighting. Also keep a saved “golden sample” from the first successful run so the next batch can be matched against a physical reference.
Can I make custom patches at home without industrial machines?
-
Yes, for small batches. Common home approaches include:
-
Embroidery machines for simple stitched designs
-
Printable fabric sheets for printed patches (best for art and gradients)
-
Hand embroidery for artisan, one-of-one work
What’s the biggest mistake people make when ordering patches for merch?
-
Treating a patch like a simple print job. Patches have physical constraints—thread thickness, edge finishes, and backing behavior. The fix is to choose the patch type based on detail level and end-use, then approve a proof (and ideally a sample) before scaling.