

Introduction
If your hat patch looks “almost right” in the proof but shows up crooked, fraying, or weirdly shiny in real life, you’re not alone. Most hat patch problems come from three places: picking the wrong patch type for the fabric, ignoring stitch and border engineering, or choosing an attachment method that doesn’t match how hats flex, sweat, and get tossed around.
That’s why choosing the right custom patches maker matters as much as the artwork. At Best Patches, we’ve spent years dialing in the exact variables that make hat patches look premium on day one and still look sharp after a season of wear—thread density, edge finishing, heat parameters, and stitch mapping for curved surfaces.
Definition: A custom patches maker is a service (or in-house workflow) that turns your design into a manufacturable patch—embroidered, woven, PVC, leather, or printed—and prepares it for hat-ready attachment (sew-on, Velcro, heat press, or adhesive-backed). The best makers also optimize the design file, recommend sizing for legibility, and engineer borders and backing so the patch survives real-world use.
Table of Contents
- Choose the right patch type for hats
- Design rules that keep small hat patches readable
- Materials, borders, and backing that actually last
- From file to finished patch: the production workflow
- How to attach patches to hats without warping
- Quality checks that prevent expensive remakes
- Costs, MOQs, and lead times in 2026
- Risks, limitations, and how to avoid them
- Case studies from Best Patches
Choose the right patch type for hats
Hats are different from jackets and bags: they’re curved, they flex, and they often use structured panels. The “best” patch is the one that stays flat enough to look intentional while bending enough to move with the hat.
Quick match guide by hat style
- Structured trucker or snapback fronts: embroidered (3D puff or flat), woven, leather/PU, PVC. These panels can support stiffer patches.
- Unstructured dad hats: woven, printed, or low-profile embroidery. Too-stiff PVC can ripple the fabric.
- Beanies: woven labels, small embroidered, or soft PVC. Avoid thick borders that create a “ledge.”
- Performance hats (poly/spandex, moisture-wicking): woven or printed with sew-on/Velcro. Heat can damage coatings; adhesives can fail with sweat.
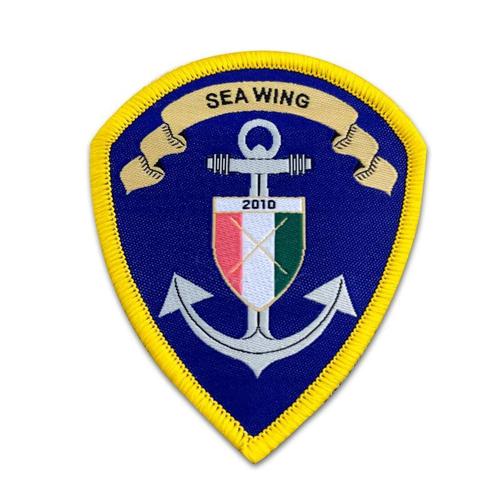
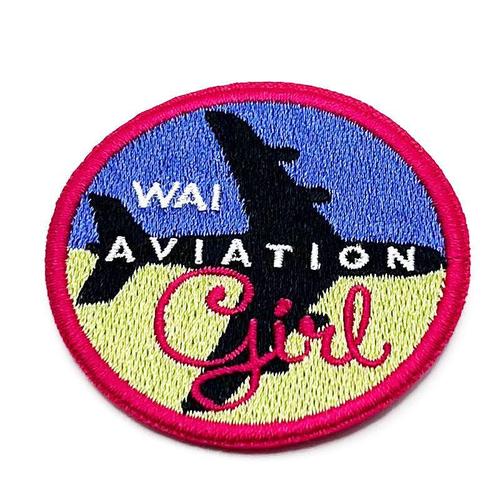
Embroidered vs woven vs PVC vs leather
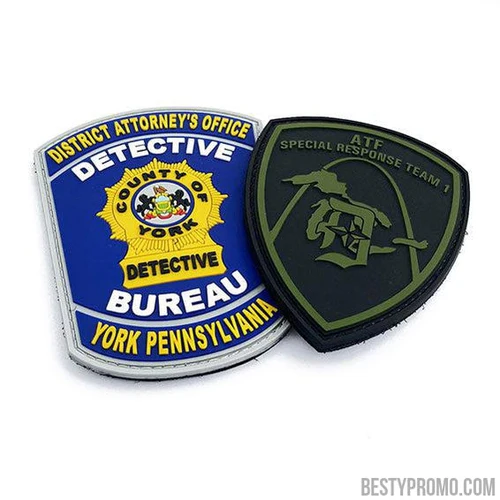
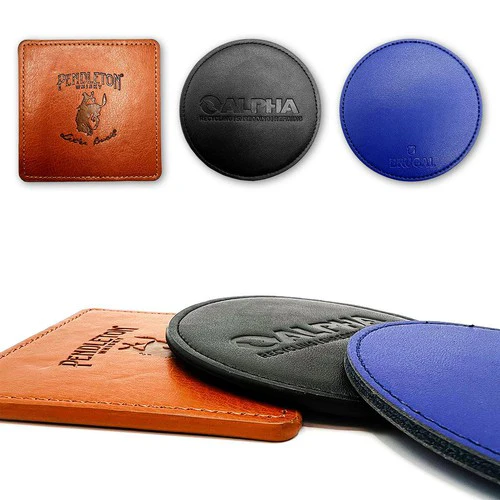
Embroidered patches sell “heritage” and texture, but tiny text can fill in. Woven patches handle micro-details and clean typography with less bulk. PVC is rugged and weather-friendly but can feel heavy or stiff on soft crowns. Leather/PU looks premium and photographs well, but laser-etching detail has limits and heat attachment needs careful testing.
| Use case | Recommended patch type | Why it works on hats | Watch-outs |
|---|---|---|---|
| Streetwear drop on structured snapbacks | 3D puff embroidery | High perceived value; bold shapes pop on camera | Small text can distort; thicker feel |
| Corporate logo on performance caps for events | Woven patch | Sharp logo lines; lighter and more flexible | Needs clean vector art for best results |
| Outdoor brand hats for rain/salt/sun exposure | PVC patch | Weather resistance; easy wipe-clean surface | Can look bulky on soft crowns; edge lift risk if glued |
| Premium coffee shop hats (lifestyle retail) | Leather/PU patch | Upscale, minimal, giftable aesthetic | Etched details can be subtle; heat needs testing |
| Beanies for merch tables | Woven label patch | Low bulk; stitches conform to knit | Overly stiff backing can cause puckering |
“If the hat is doing the talking—structured, flat front panels—go textured. If the logo is doing the talking—fine type, thin strokes—go woven. Most disappointments come from forcing embroidery to behave like print.”
Design rules that keep small hat patches readable
Hats don’t give you much space. The smartest design decision is often what you remove, not what you add. If you want a patch that reads from six feet away and still looks crisp up close, build for manufacturing constraints.
Size ranges that work in real life
- Front crown “hero” patch: about 2.25–3.5 inches wide (varies with hat profile).
- Side patch: about 1.5–2.5 inches wide.
- Back arch patch: usually better as direct embroidery than a patch, unless it’s a small icon.
Line weight and text rules
- For embroidery: avoid hairline strokes; keep letters bold and simplified.
- For woven: you can keep thinner strokes, but don’t push tiny text if you want fast readability.
- For leather/PU: prioritize strong silhouette and contrast; micro-text can fade visually.
Materials, borders, and backing that actually last
Patches fail at the edges and the backing. A beautiful stitch pattern doesn’t help if the border frays, the glue bleeds, or the patch lifts after a few hot days in a car.
Border options and what they signal
- Merrowed border: classic rounded edge; durable; best for simple shapes. Not great for tight corners.
- Heat-cut border: sharp edges and complex shapes; modern look; good for woven and some embroidered.
- Stitched border (satin stitch edge): premium for embroidery; handles curves well; requires clean shape design.
Backing options for hats
- Sew-on: most reliable; best for long-term durability and washing.
- Velcro hook-and-loop: best for teams, tactical, and swaps; needs proper loop field on the hat.
- Heat seal: fast for certain hats and patch types; can fail if temperature/time is wrong or hat fabric is coated.
- Adhesive “peel-and-stick”: fine for prototypes and display, not ideal for everyday wear.
According to a 2024 report by McKinsey on consumer expectations, customers increasingly judge quality fast—often within the first few uses—so edge durability and attachment reliability matter as much as appearance. In practical terms: if your patch lifts once, the hat feels cheap forever.
From file to finished patch: the production workflow
A professional custom patches maker doesn’t just “print your art.” The goal is to translate your design into stitches, weave, or molded lines that can be repeated consistently across a run.
What to send (and what to avoid)
- Best: AI, EPS, or SVG vector files with outlined text.
- Good: high-resolution PNG (transparent background), 300 DPI or higher at final size.
- Avoid: blurry JPEGs, screenshots, and files with unlicensed fonts you can’t share.
Typical workflow you should expect
- Artwork review: manufacturer checks size, line thickness, and color count.
- Digitizing or weaving map: stitches or weave pattern planned to minimize distortion on curves.
- Proofing: you approve placement of borders, thread colors, and backing type.
- Pre-production sample (optional but smart): one or a small batch to confirm real-world look.
- Production: run is produced with consistent machine settings and QA checks.
- Finishing: borders cut/stitched, backing applied, Velcro aligned, trimming cleaned.
“The proof is not the patch. The proof is the plan. If your maker can’t explain stitch direction, border choice, and backing behavior on your hat fabric, you’re gambling with your budget.”
According to a 2025 Adobe report on digital trends, consumers respond strongly to consistent brand presentation across touchpoints. For patches, that consistency comes from controlling color matching, edge finishing, and repeatable sizing—not from adding more detail to the art.
How to attach patches to hats without warping
Attachment is where great patches go to die. Hats are curved; patches are flat. Your job is to manage that mismatch.
Sew-on attachment (most reliable)
For most brands, sewing is the highest-confidence option. It handles sweat, flexing, and temperature changes better than adhesives.
- Use a patch size that matches the crown panel width so the patch doesn’t “bridge” over curvature.
- Ask your maker for a border built for stitching (stitched edge or merrowed edge).
- For thick patches, reduce stitch density near edges to avoid puckering the hat panel.
Heat press attachment (fast but fabric-sensitive)
Heat seal can work beautifully on the right hat materials. It can also scorch, gloss, or delaminate performance fabrics if you’re careless.
Velcro attachment (best for swappable programs)
Velcro is perfect when your customers want to swap designs—teams, clubs, tactical, or limited-run “patch of the month.” The key is alignment and edge management so corners don’t catch and peel.
Quality checks that prevent expensive remakes
Quality is not a vibe; it’s a checklist. A solid custom patches maker will share standards, not just photos.
What to inspect when samples arrive
- Edge integrity: no fraying, no loose threads, no jagged heat-cut lines.
- Legibility at distance: hold it at arm’s length; the brand should still read.
- Color match: compare under daylight and indoor light; some threads shift tone.
- Backing behavior: bend it—does the backing crack, lift, or feel overly stiff?
- Consistency across pieces: random-check 10 units; look for border wobble or misalignment.
According to a 2023 ISO survey of quality management adoption trends, organizations that standardize inspection criteria reduce rework and returns significantly over time. For patches, standardization looks like measurable tolerances: border alignment, thread coverage, and backing adhesion consistency.
Costs, MOQs, and lead times in 2026
Pricing depends on patch type, size, stitch count (for embroidery), color count, and backing. The trap is optimizing for cheapest unit cost while ignoring application labor and failure rate.
What usually drives cost up
- High stitch density and complex gradients in embroidery
- Custom die shapes with sharp corners (more waste, more finishing time)
- Velcro sets (hook plus loop) and alignment labor
- Rush timelines and split shipments
Lead time reality check
For most reputable makers, timelines include proofing, optional sampling, production, and shipping. If someone promises “instant” without clarifying how proofing and QA happen, you’re likely trading speed for inconsistency.
Risks, limitations, and how to avoid them
Even with a strong vendor, patches have real constraints. Calling them out early protects your brand and your margins.
Common risks
- Detail loss: tiny text and thin strokes can fill in (especially in embroidery).
- Hat panel distortion: stiff patches can cause rippling on unstructured hats.
- Heat damage: performance hats can gloss, shrink, or delaminate under heat press.
- IP and trademark issues: using protected logos or characters can trigger takedowns or legal action.
How to mitigate without overengineering
- Create a “patch-first” logo variant with simplified elements.
- Pick backing based on end use (everyday wear vs collectible swap patch).
- Order a sample when switching hat models or suppliers—even if your art is unchanged.
- Document your approved spec: size, color references, border type, backing, and placement.
Case studies from Best Patches
A streetwear brand that kept failing on curved crowns
I worked with a small streetwear label that had a recurring issue: their embroidered front patches looked perfect on flat proofs, but once sewn onto high-crown snapbacks the patch edges would lift slightly and the center would “dome.” Customers described it as looking like a badge that didn’t belong on the hat.
At Best Patches, we changed three variables instead of redesigning the entire logo: we switched from a thick merrowed edge to a stitched border with a slightly softer hand, reduced stitch density around the outer 3–4 millimeters to improve conforming, and nudged the patch width down so it fit the front panel geometry. The next run sat flatter, photographed better, and reduced complaints immediately.
A corporate event program that needed consistent logos across 5,000 hats
Another time, I helped an operations manager sourcing hats for a multi-city corporate roadshow. They needed the logo to read cleanly in photos and under stage lights, with fast turnaround and minimal rejects. We recommended a woven patch for crisp lines, paired with sew-on attachment to avoid heat-related fabric sheen changes on performance caps.
The biggest win wasn’t the patch type—it was the process. We standardized an approval checklist (color references, thread/weave mapping, border, backing, placement) and required a pre-production sample from the same lot settings used for the full run. That “boring” step prevented the most expensive mistake: discovering inconsistencies after thousands of units were already finished.
Conclusion
Great hat patches come from aligning three decisions: the right patch type for the hat style, manufacturable artwork built for small-scale legibility, and an attachment method that respects heat, sweat, and curvature. When those match, your hats look premium, feel intentional, and hold up through real wear.
- Next step from Best Patches: Create a “hat patch edit” of your logo (simplified, thicker strokes) and send it for a manufacturability check before you order.
- Next step from Best Patches: If you’re switching hat models (structured to unstructured, or cotton to performance), request a sample even if the design is unchanged.
- Next step from Best Patches: Standardize your spec sheet: patch size, border type, backing, and placement—then reuse it for every reorder to keep consistency.
References
- Gartner (2024): Used as guidance for how operational consistency and vendor process maturity affect product outcomes and customer satisfaction.
- McKinsey (2024): Referenced for consumer expectations around perceived quality and early-use impressions.
- Adobe Digital Trends (2025): Referenced for the importance of consistent brand presentation across channels, applied here to patch consistency.
- ISO quality management research (2023): Referenced for the value of standardized inspection criteria to reduce rework and returns.
FAQ
What patch type looks best on hats?
-
For a classic, premium feel, embroidered patches (flat or 3D puff) are a favorite on structured snapbacks and trucker hats. If your logo has small text or thin lines, woven patches typically look cleaner and stay readable. For rugged outdoor use, PVC holds up well, while leather/PU is ideal for minimalist, upscale branding.
Is it better to sew or heat press a patch onto a hat?
-
For long-term durability, sewing is usually the best choice because it handles sweat, flexing, and washing better. Heat pressing can be fast and clean on compatible hat fabrics, but it’s riskier on performance materials (they can change sheen or delaminate). If you’re unsure, test one spare hat before committing to a full run.
What file should I send to a custom patches maker?
-
Send a vector file whenever possible: AI, EPS, or SVG with fonts outlined. If you don’t have vector art, send a high-resolution PNG (transparent background, 300 DPI at final size). Avoid blurry JPEGs or screenshots because they can lead to rough edges and inconsistent details in production.
Why do hat patches sometimes curl or lift at the edges?
-
Edge lift usually happens when a stiff patch is forced onto a curved or soft crown, or when the backing/adhesive doesn’t flex with the hat. Fixes include slightly reducing patch size, choosing a softer border style, switching to sew-on attachment, or using a patch type that bends more naturally (often woven).
Are Velcro patches a good idea for hats?
-
Yes—if you want a swappable patch program (teams, clubs, limited runs). The key is using a properly sized loop panel on the hat and making sure the patch edges are finished cleanly so corners don’t catch. For everyday “set-and-forget” hats, sew-on is usually more durable.
How big should a front hat patch be?
-
A common front-crown range is about 2.25 to 3.5 inches wide, depending on hat profile and panel width. The practical test is curvature: if the patch feels like it’s “bridging” over the crown instead of sitting with it, size down or choose a more flexible patch type.
Can Best Patches help choose the right custom patches maker setup for my hat line?
-
Yes. Best Patches can review your logo and hat model, recommend the best patch type (embroidered, woven, PVC, or leather/PU), and help you choose border and backing options that match how the hats will be worn and sold. The goal is fewer surprises at delivery and more consistent reorders.
Can I use copyrighted logos or characters on hat patches?
-
Usually, no. If you don’t own the rights or have permission, producing patches with protected logos or characters can lead to order cancellation, takedowns, or legal trouble. A safer approach is to use original artwork, properly licensed assets, or brand elements you own (your wordmark, icon, or custom illustrations).